“The question is never 'can this be rescued?' — it is always 'at what cost, and is it worth it compared to starting fresh?'”
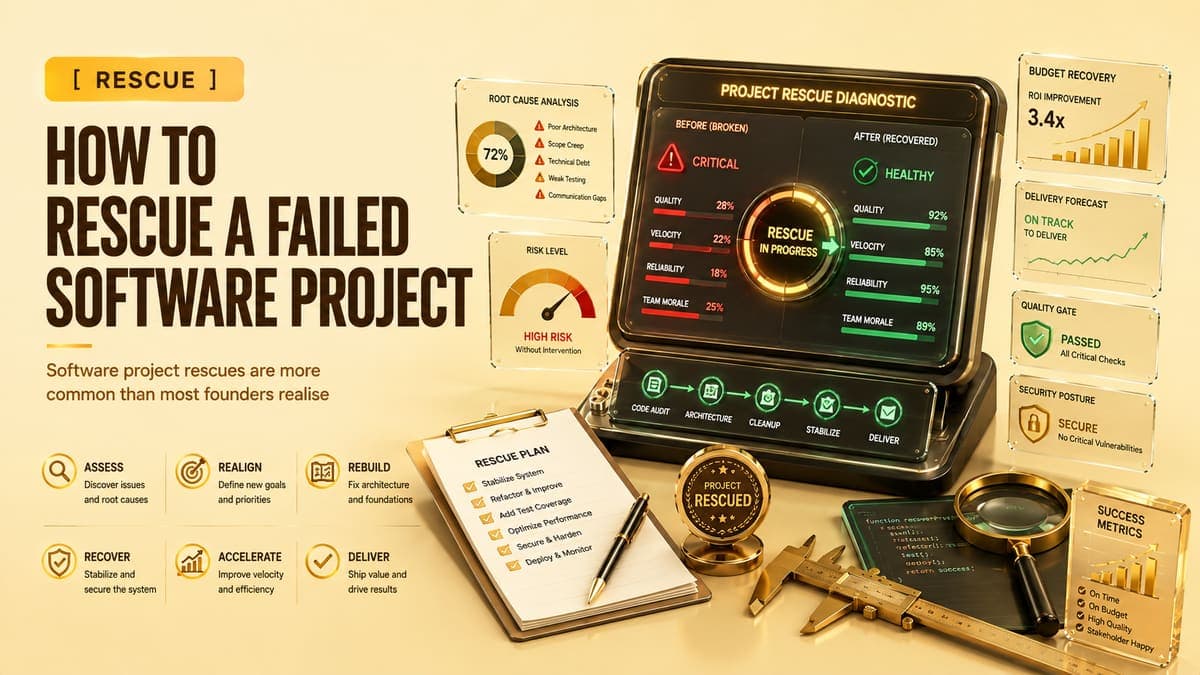
The honest assessment firstSoftware project rescues are more common than most founders realise. The pattern is consistent: a project starts with optimism, begins accumulating problems around the 30% completion mark, and either limps to a low-quality delivery or stops entirely with a codebase no one wants to touch.
If you are in this situation, the path forward starts with an honest assessment of what you have and what it would take to finish. This guide walks through that assessment and the recovery options.
Step 1: Get an Independent Technical Assessment
Before any decision about continuing, rescuing, or starting fresh, you need an independent technical review of the existing codebase. This is not a code audit by the same team that built it — it is an assessment by a team with no stake in the outcome.
A thorough technical assessment for a medium-complexity project takes three to seven days and costs $1,500 to $5,000. It will tell you: what percentage of the planned functionality is actually complete, the quality and maintainability of the existing code, what architectural decisions have been made and whether they are sound, the scope of remediation required to make the existing code production-ready, and a realistic estimate of what it would cost to complete the project from where it is.
Step 2: Make the Continuation Decision
After the assessment, you have three options. Continue from the existing codebase — the code is of reasonable quality and building on it is faster than starting fresh. Remediate then continue — the code has issues but fixing them is cheaper than rebuilding. Start fresh — the existing code is not a viable foundation and the fastest path to a working product is to rebuild.
The decision is cost-based, not emotional. Founders often resist a fresh start because of sunk cost — the money already spent. But sunk cost is irrelevant to the forward decision. If rebuilding takes four months and completing the existing codebase takes eight months of remediation plus development, rebuilding is the right choice regardless of what was spent on what exists.
Step 3: Secure Everything Before Starting Over
If you are switching teams, whether to continue from the existing codebase or to rebuild, secure every credential, every repository, and every account before making the transition. Change passwords on all accounts where the previous team had access. Transfer repository ownership. Document every third-party service account and API key. This is administrative work that takes one day and protects you from complications down the line.
Step 4: Define the Correct Scope Before Signing Anything New
One of the most common mistakes in project rescues is beginning the continuation or rebuild without properly defining the scope. The original project likely failed in part because the scope was ambiguous. Starting a rescue without correcting that ambiguity produces the same outcome.
Before engaging a new team, write a specific scope document covering what needs to be built, what already exists that is worth preserving, what the acceptance criteria are for completion, and what the post-launch success metrics are. A new team working from a clear specification delivers significantly better outcomes than one trying to interpret intentions.
Step 5: Establish Better Oversight Structures
The oversight failures that allowed the first project to go off track usually persist if they are not consciously addressed. Two changes that have the most impact on rescue project success: milestone-based payments (paying for delivery, not time elapsed) and regular demos of working software on a staging environment (not status reports, but actual working software every two weeks).
These two practices together create accountability at a level that prevents problems from accumulating silently. If a team cannot show working software at the end of a two-week sprint, you know within two weeks — not six months.
Assessment (Days 1–5)
Independent technical review. Written report on code quality, completion percentage, and remediation scope.
Decision point (Day 5)
Continue, remediate, or rebuild. Based on assessment findings and forward cost comparison.
Access and handover (Days 5–7)
Secure all credentials, repositories, and accounts. Document existing functionality.
New scope definition (Days 7–14)
Write the completion or rebuild specification. Define acceptance criteria for every deliverable.
New engagement (Week 3)
Engage the rescue team with milestone-based payment and sprint demos built into the contract.
Project rescues are recoverable. The key is acting before the situation gets worse — before more money is spent on a foundation that is not sound, before another deadline passes, and before the team you need to do the rescue is fully committed elsewhere. The assessment is the first step and the cheapest way to understand what you are dealing with.